There’s not much out there greater than doing crafts for the (Halloween) holiday season with your kids. Especially spooky ghost crafts like these. A way for Halloween to be less scary, and build up creativite confidence.
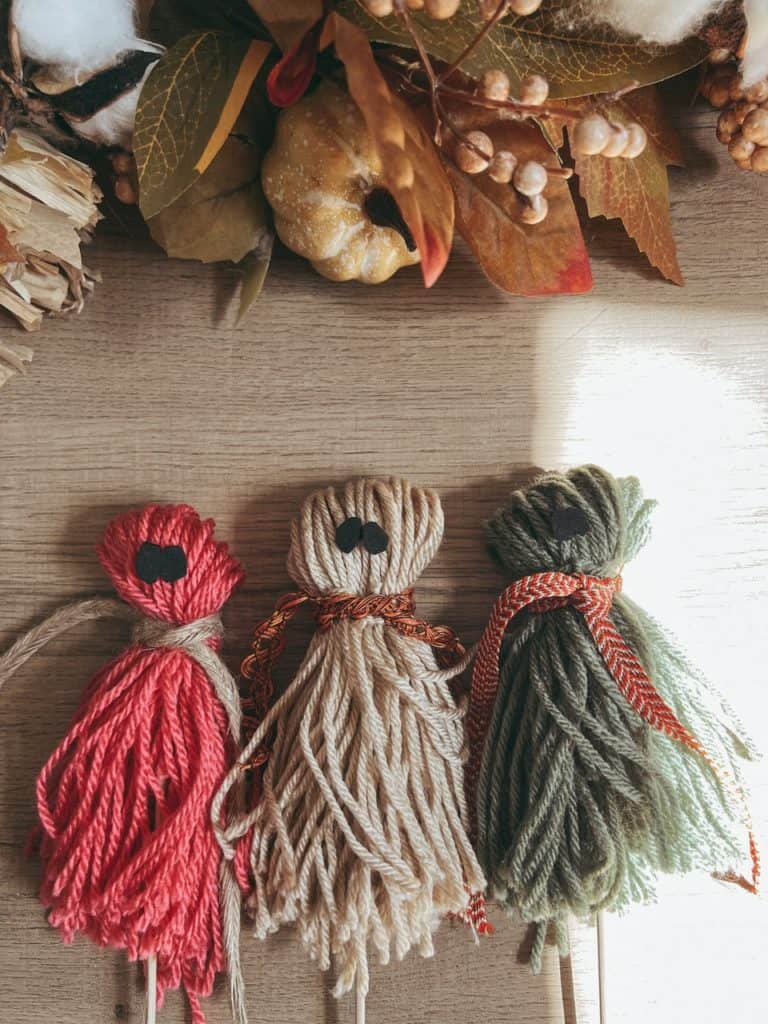
You can truly make this as aesthetic and colorful as you want, mixing patterns to solids, dark to bright, the opportunities are endless in the crafting world.
This cute ghost craft can be used as Halloween home decor, party decor, a garland, wands for children to play with, and so much more.
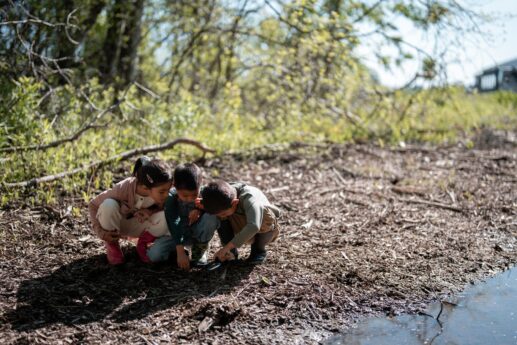
Creating makes the heart FEEL, and children FEEL especially when it’s you joining in on these sensory activities that require, time, patience, concentration, and innovation.
Please swell my heart and share the ghost wand Halloween crafts you and your little one put together, in the comments.
The links on this webpage may contain affiliate links. This means that I may receive a small commission if you decide to make any purchases using my links. This affiliate relationship does not alter the integrity of my content. Thank you for your support!
Have Fun & Happy Halloween’ing!
Ghost Wand Craft Supplies:
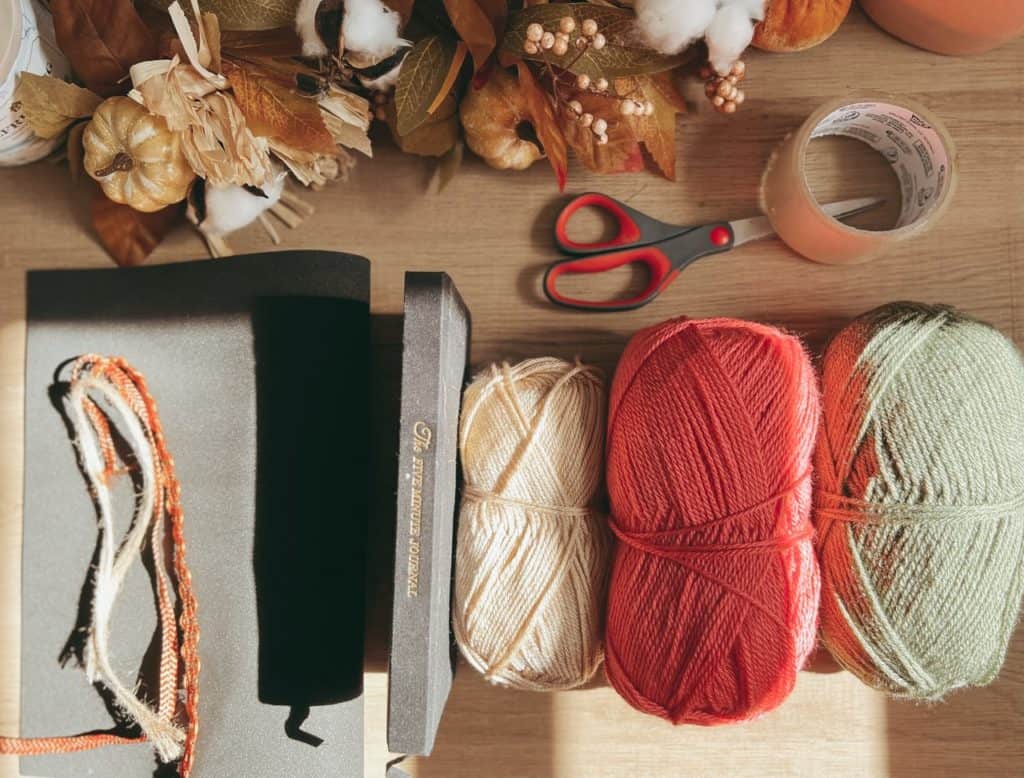
I bought most of these items at two of my local craft stores, Hobby Lobby and Michaels.
- Yarn
- Ribbon
- Black Felt
- Book
- Tape
- (Craft) Scissors
- Missing from Picture: HOT GLUE GUN + SLIM WOOD CRAFT STICKS

Step-By-Step Instructions:
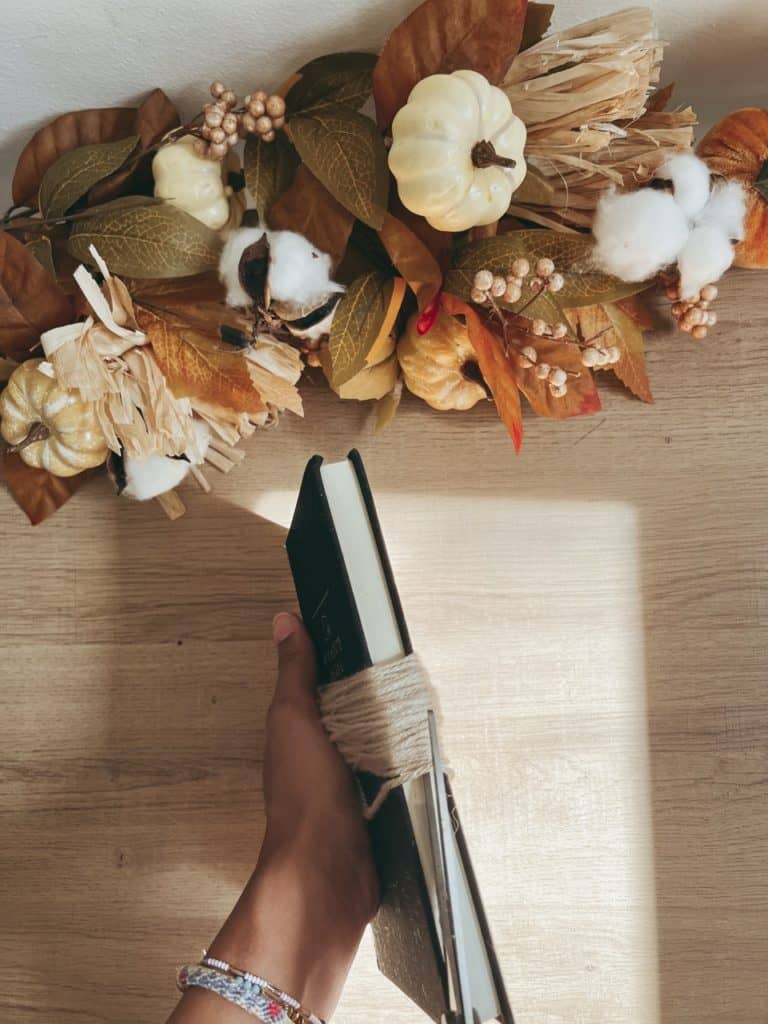
- Cut a line of string measured from top to bottom of the book end

2. Tape each end of the string to the book

3. Hold the start of your yarn’s string at the middle of the book. Wrap yarn about 60 times


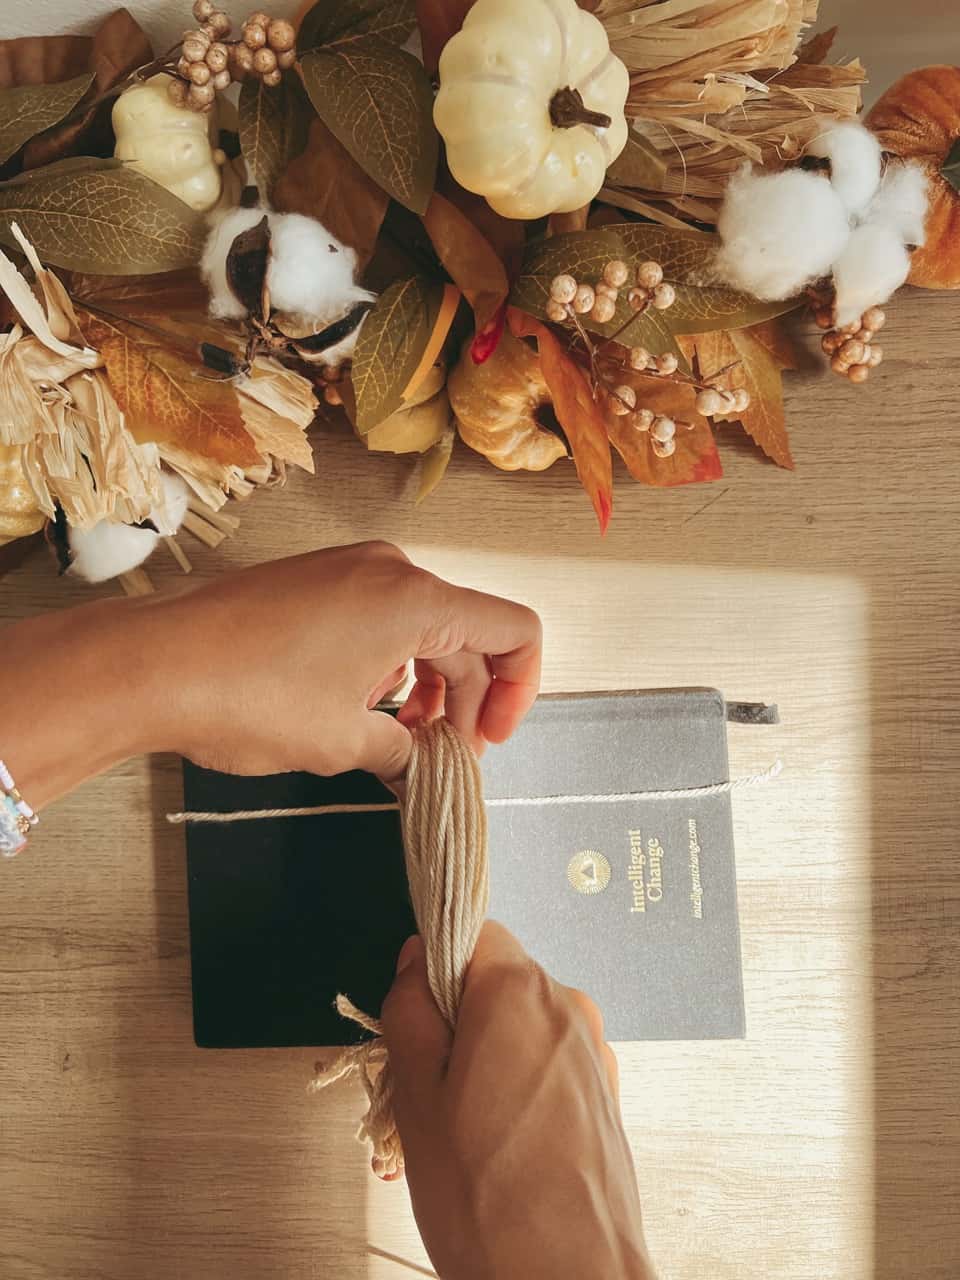
4. When done, cut an ending of your string

5. Untape the string that is on the book end. Tie that in to a knot around the wrapped string (It helps keep it all together while you are cutting the wrap)

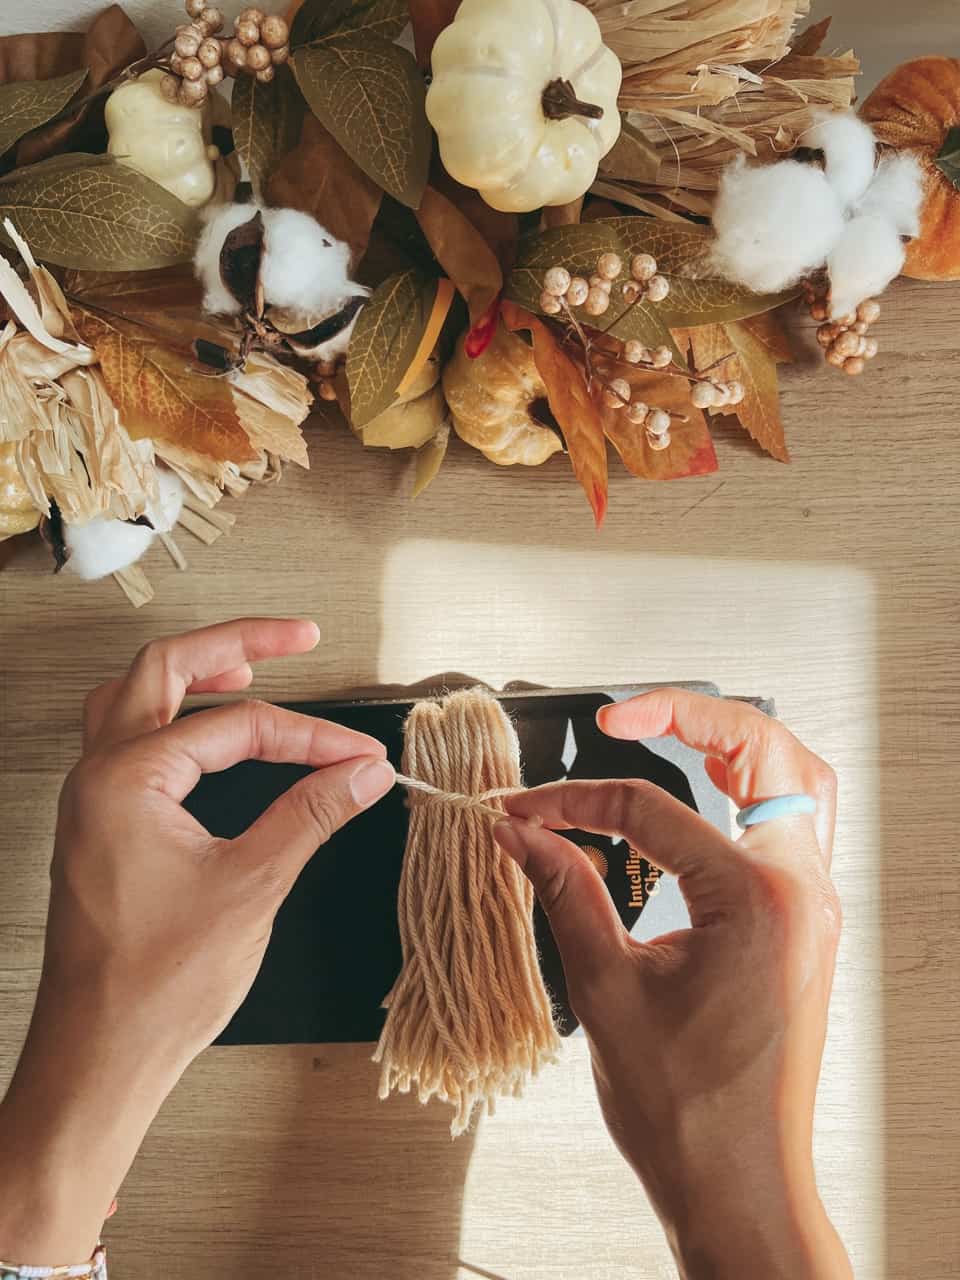
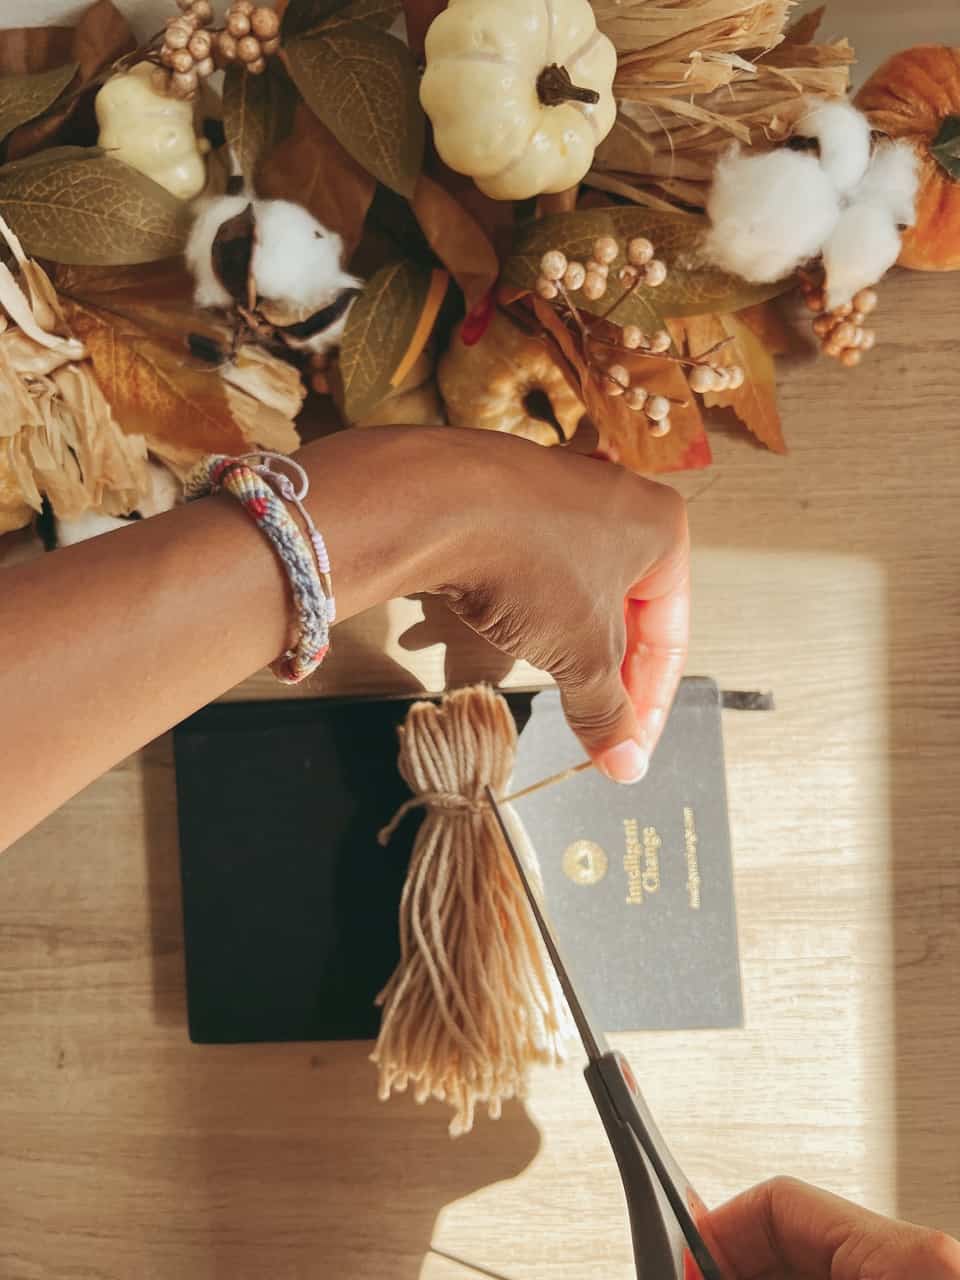
6. Turn the book over. Start cutting the string down the middle
7. Untie the knot, keep the tassle folded. Pull the one string between the tassle and lay it horizontal on a flat surface

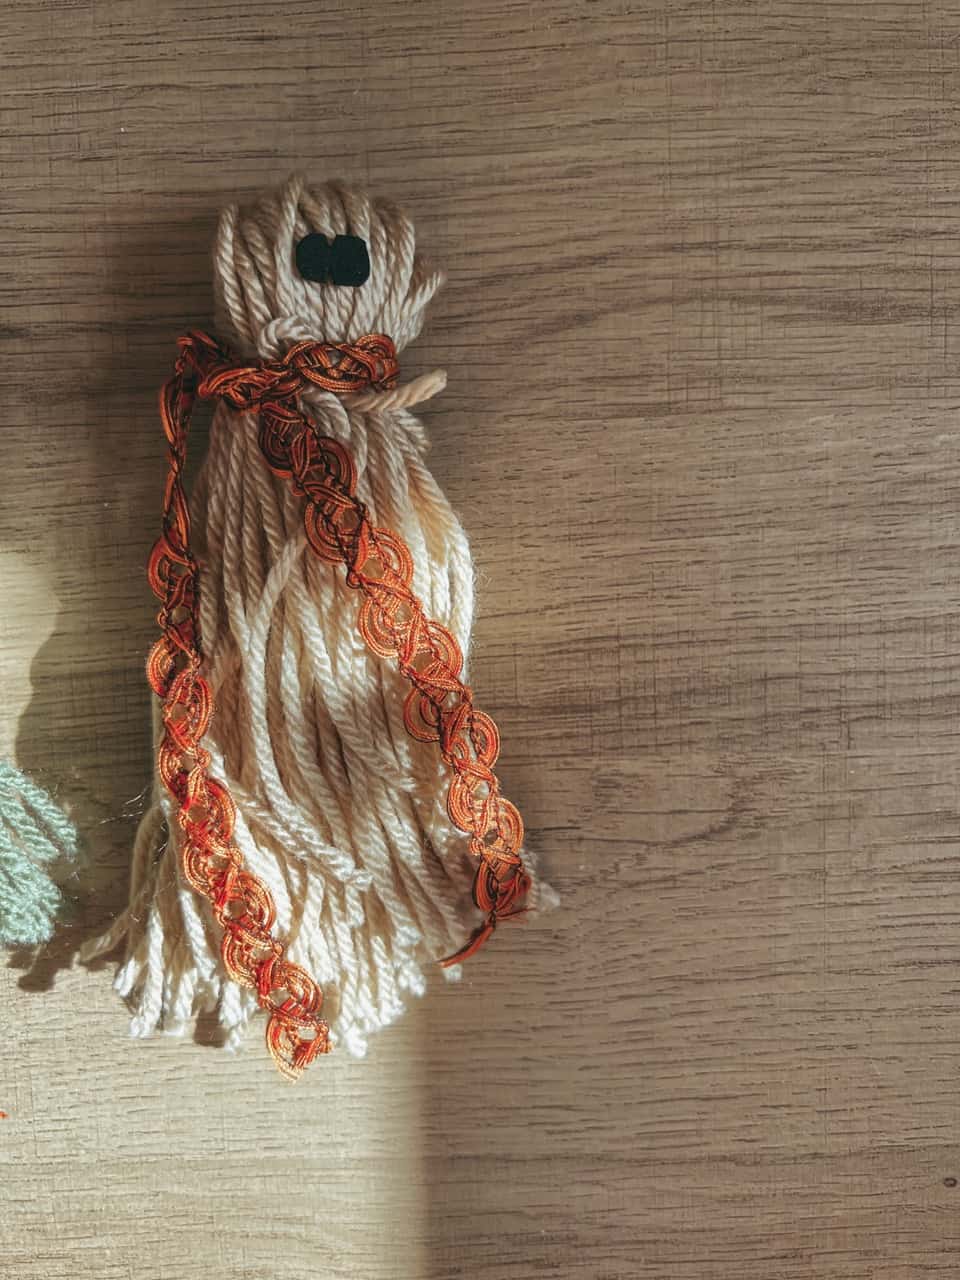
8. Lay the tassle on the string where you would like to place the ribbon, to create the ghost’s head

9. Lightly double knot & cut leftover string
10. Now it’s time to pick your ribbon 🙂

11. Align neck of ghost to ribbon and tie!


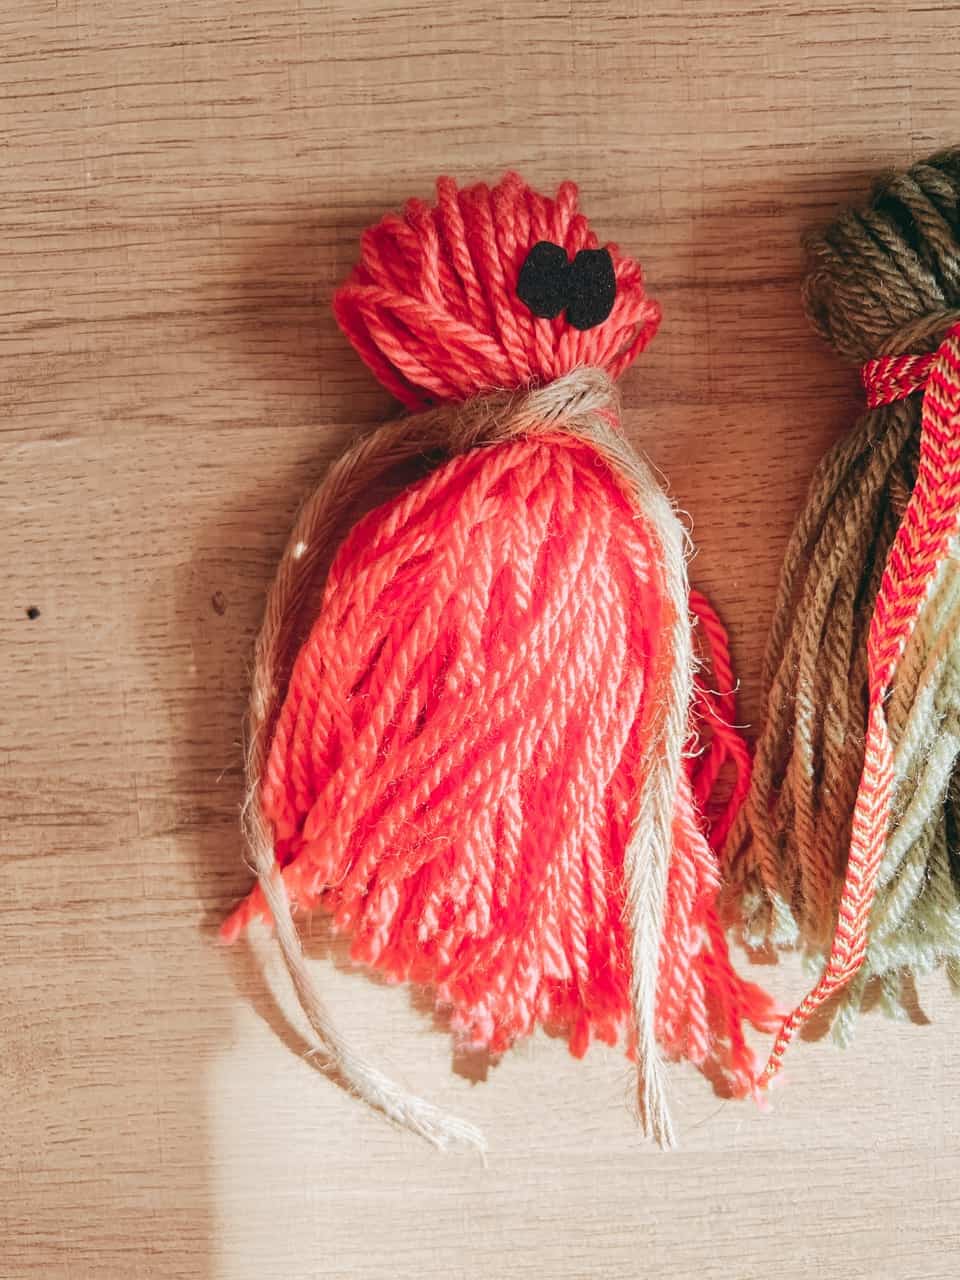
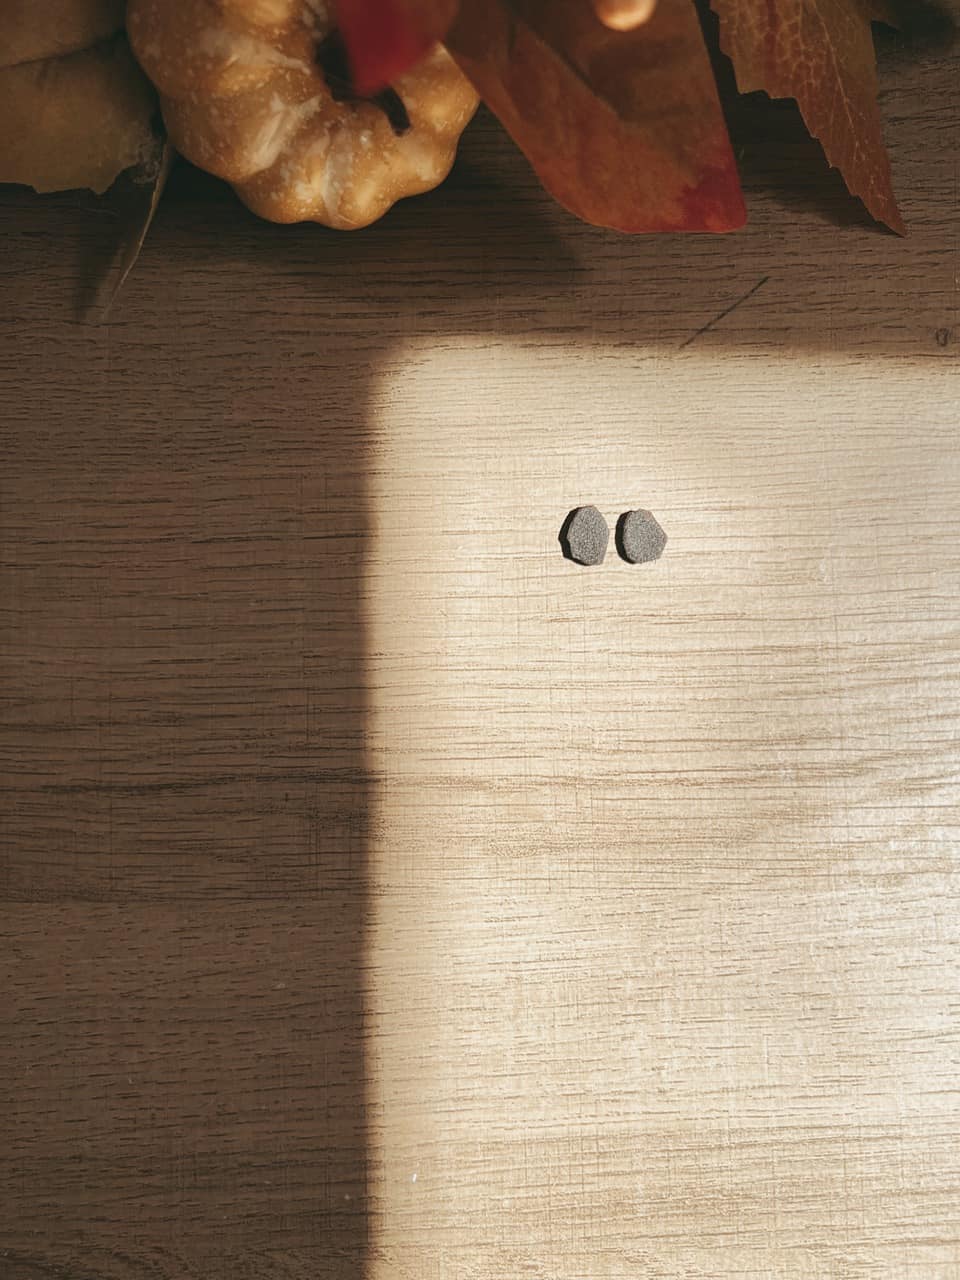
12. Let’s whip out the Felt (I used a foam sheet) to draw the eyes

13. I cut a square around the eyes to make cutting them out easier. [helps create smoother edges when you have less material in your tracks]

14. Time to reveal your weapon: Hot Glue. Glue the eyes to the middle the head. Glue the ribbon to his neck. Make sure if you want the ghost to be a wand, separate the ghosts body in half and hotglue the top of the craft stick right to the center of the ghost’s neck/head (avoiding going too high and ruining the yarn lining)

FIN!