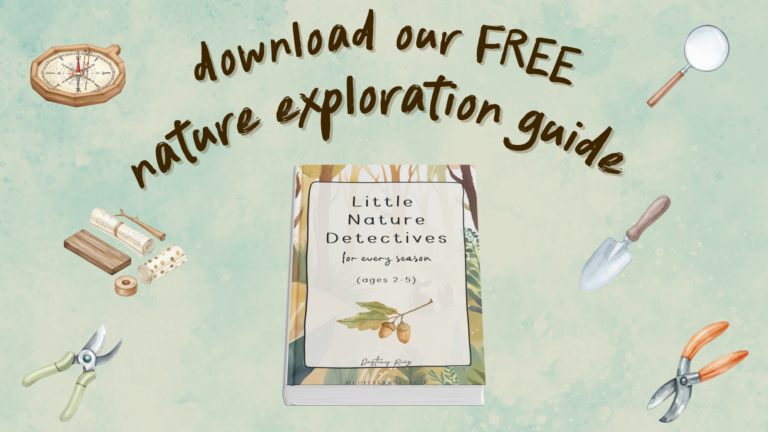
Oreos are a guaranteed all-around favorite treat! So why not include mummy oreos on your party food table? This recipe is quick and easy to make, in under 30 minutes.
This halloween treat is one theme and because of that, the kids were able to help me. It truly didn’t take talent to design them!
There are different mummy oreo – styled treats you can make in addition to these ingredients! Mummy oreo pops, mummy oreo cakes, mummy oreo balls, and mummy dipped oreos! Due to a shortage of time making beer-free pub cheese, I find this recipe to be the least time-consuming.

Mummy Oreo Ingredients:
- GOLDEN OREOS
- WHITE MELTING WAFERS
- DECORATING BAGS / ZIPLOC
- CANDY EYES
How To Heat Chocolate
There are a couple of ways you can melt your chocolate, either in the microwave, slow cooker, or double boiler. There’s a big risk of burning chocolate when warmed in the microwave, and we want a soft silky texture for these mummy Oreos.
Microwave- Place chocolate in a microwave-safe bowl. Every 15 seconds of heating at 50% power, move the chocolate around with a scraper spatula. Do this until the chocolate is completely melted.
Slowcooker – Just place the chocolates inside the base, and add hot water to the slow cooker. Turn the slow cooker on high, once the chips are completely melted, switch to the warm setting.

To double boil, you need a heat-safe mixing bowl, water, and a saucepan.
Add 1 to 2 inches of water into your saucepan, then place your mixing bowl on top. Making it completely sealed, which will elude steam from escaping.


Turn the stove to medium heat, and as the water begins to boil start moving the chocolate. A rubber spatula is your best tool for this process. Repeat every 3-5 minutes, until chocolate has melted.
The process should take about 15 minutes or less. Keep heat setting on low until ready to place into Ziploc / decorating bag.
A Decorating Bag Alternative


Honestly, I fail to remember buying decorating bags every time I go shopping, either I’m busy buying cake mix or distracted by the next seasoning I need in that aisle.
So the easiest tactic for this problem was to place the melted chocolate into a Ziploc bag.
It’s a smidge risky because the size of the corner you are going to cut could end up being too big for your taste. At least there’s another corner to try, but know it’s your last lol. Cut in small increments until you reach the size you desire.
Make sure you’re at a faster pace after removing the chocolate from the heat as it will start to harden.

Use a Zig-Zag rhythm when drizzling chocolate onto oreo. You could use a couple of up-and-down motions. Try not to layer the chocolate too heavily because rather than a mummy look, it’s a messy look.

Drop your candy eyes on the top center. They are now mummified and under wraps.
Don’t forget to let the chocolate sit for 10-15 minutes before serving your fun, new Mummy Oreos!
featuring spooky ghost wands

